
Fundamentals · about 10 minutes
Automatic and Manual Selection
Automatic selection is fast when a contour is connected unambiguously. Manual selection gives you control over the start, route and end – especially useful at branches, for open contours or when you need only part of a longer contour.
Which selection mode should you use?
One click accepts a connected contour. Best for unambiguous closed outside and inside contours.
You set start and destination points. Browser2CAM proposes the path between them, and you confirm every step yourself.
Open a DXF
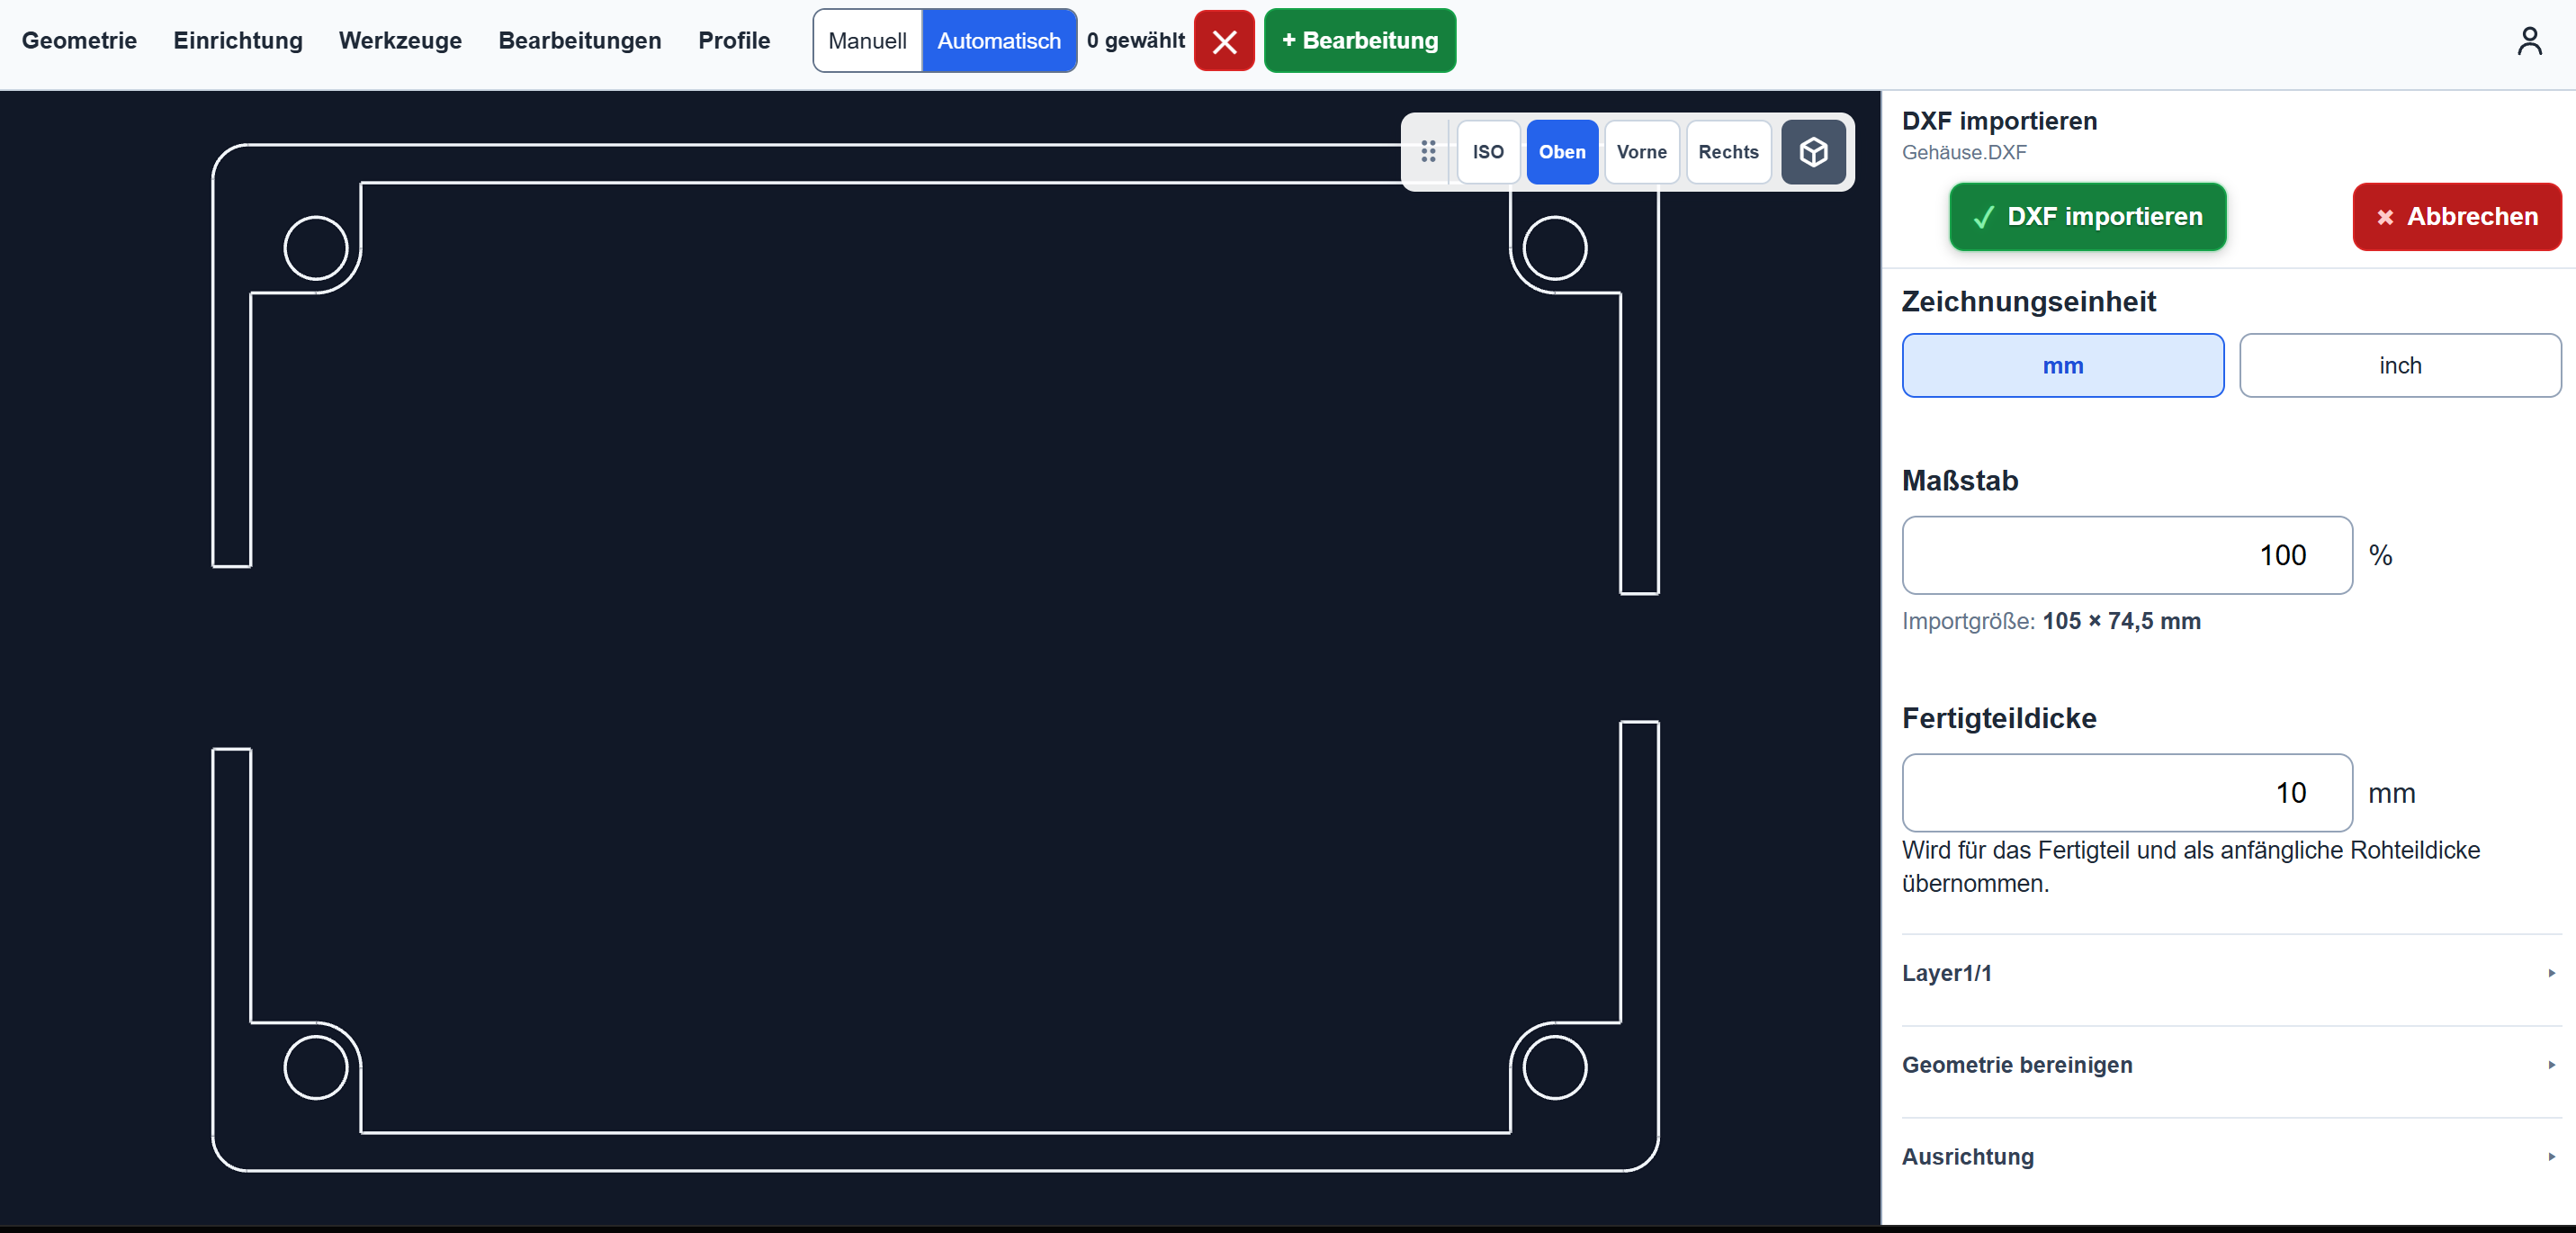
Open a DXF file and inspect its geometry in the import preview.
- Select a DXF file on the Browser2CAM start page.
- Check the drawing unit, scale and finished-part thickness.
- Click Import DXF at the top of the side panel.
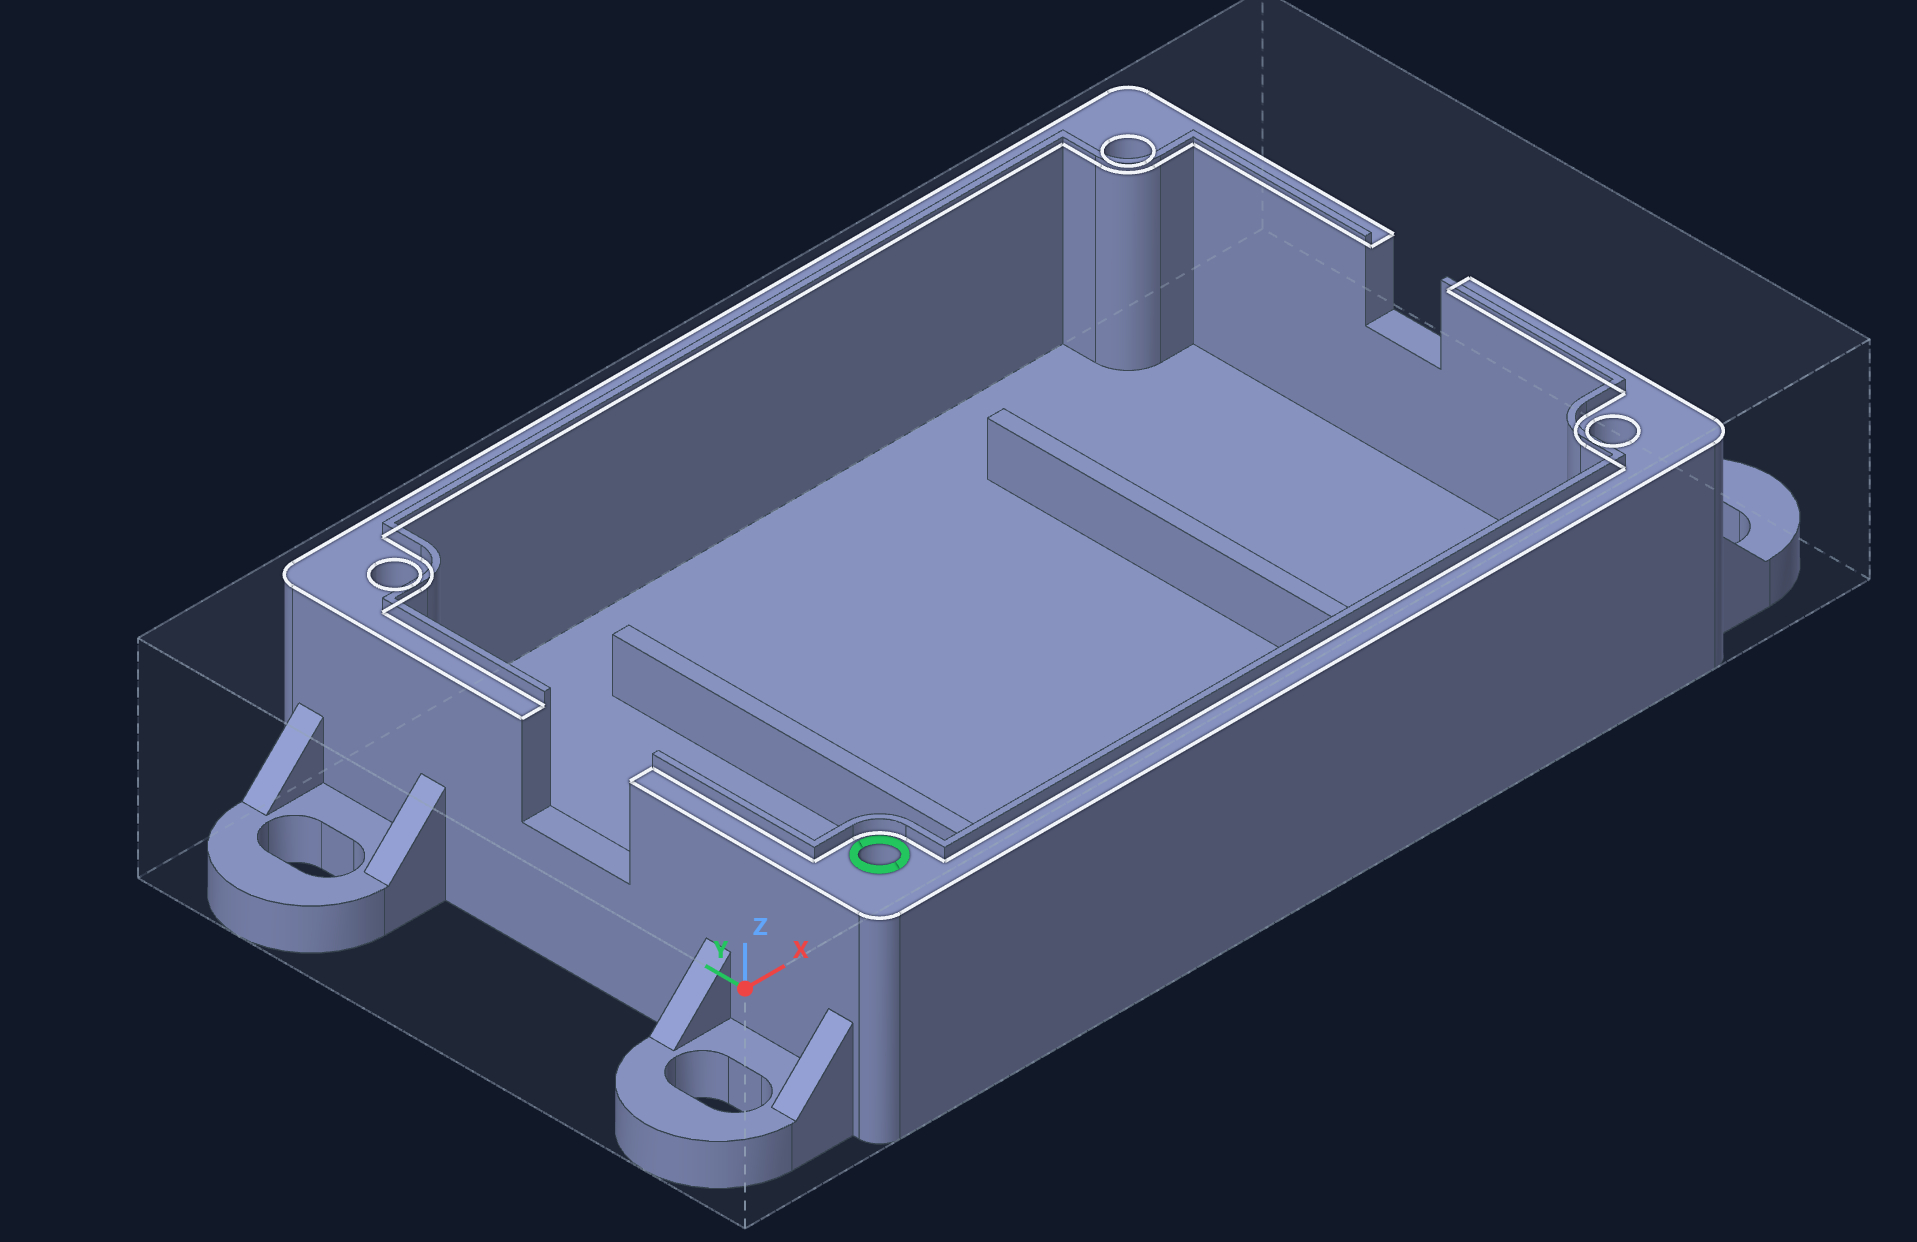
Alternative: derive geometry from a STEP face
If a STEP model is already open, click the required face. Browser2CAM derives its boundary contours as selectable geometry.
Use automatic selection
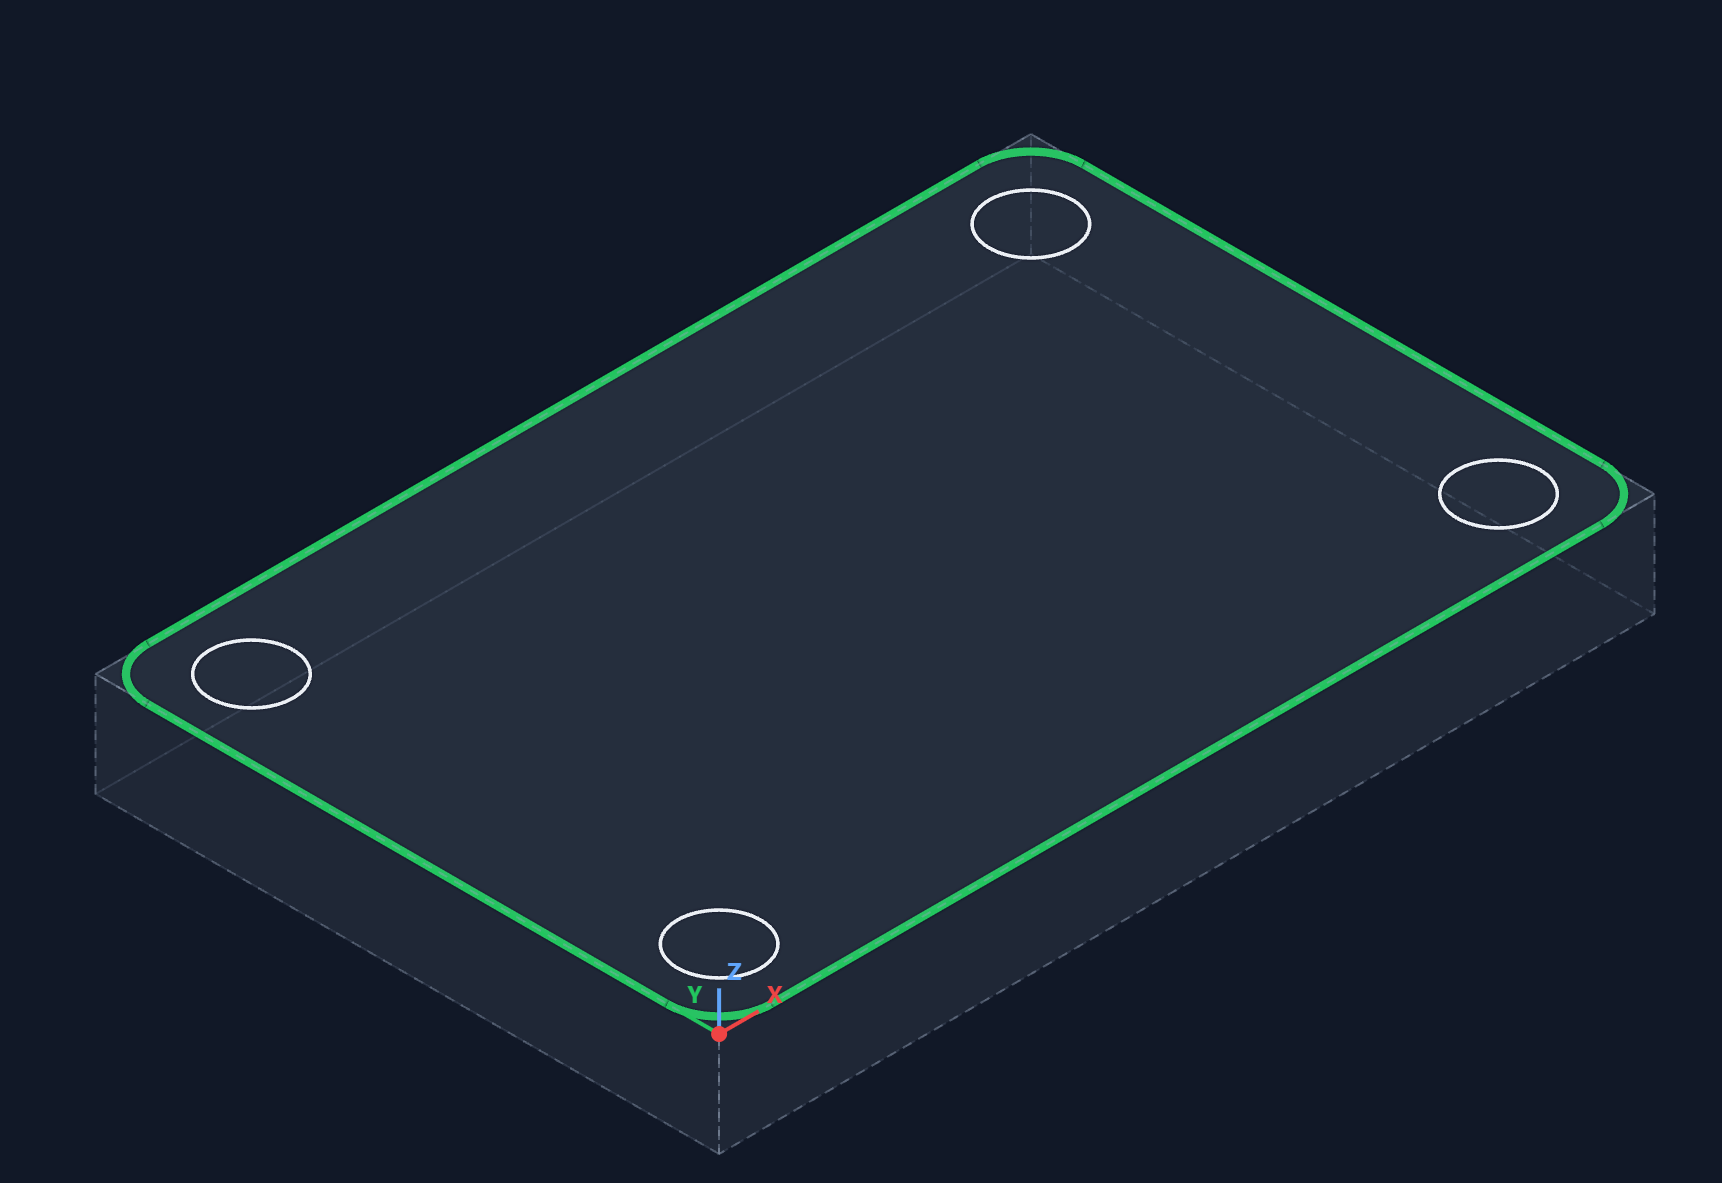
In Automatic mode, Browser2CAM looks for the complete connected contour under the pointer.
- Choose Automatic in the selection switch.
- Click a line or arc on the required contour.
- Inspect the green highlight around the whole contour.
- Click the contour again to deselect it, or use X to reset the selection.

When manual selection is better
Switch to Manual when automatic recognition selects too much geometry or cannot choose an unambiguous route at a branch.
- You need only part of a longer contour.
- Several lines meet at one point.
- The contour should remain open.
- You intentionally want to bridge a gap with a direct line.
Set the start and destination points
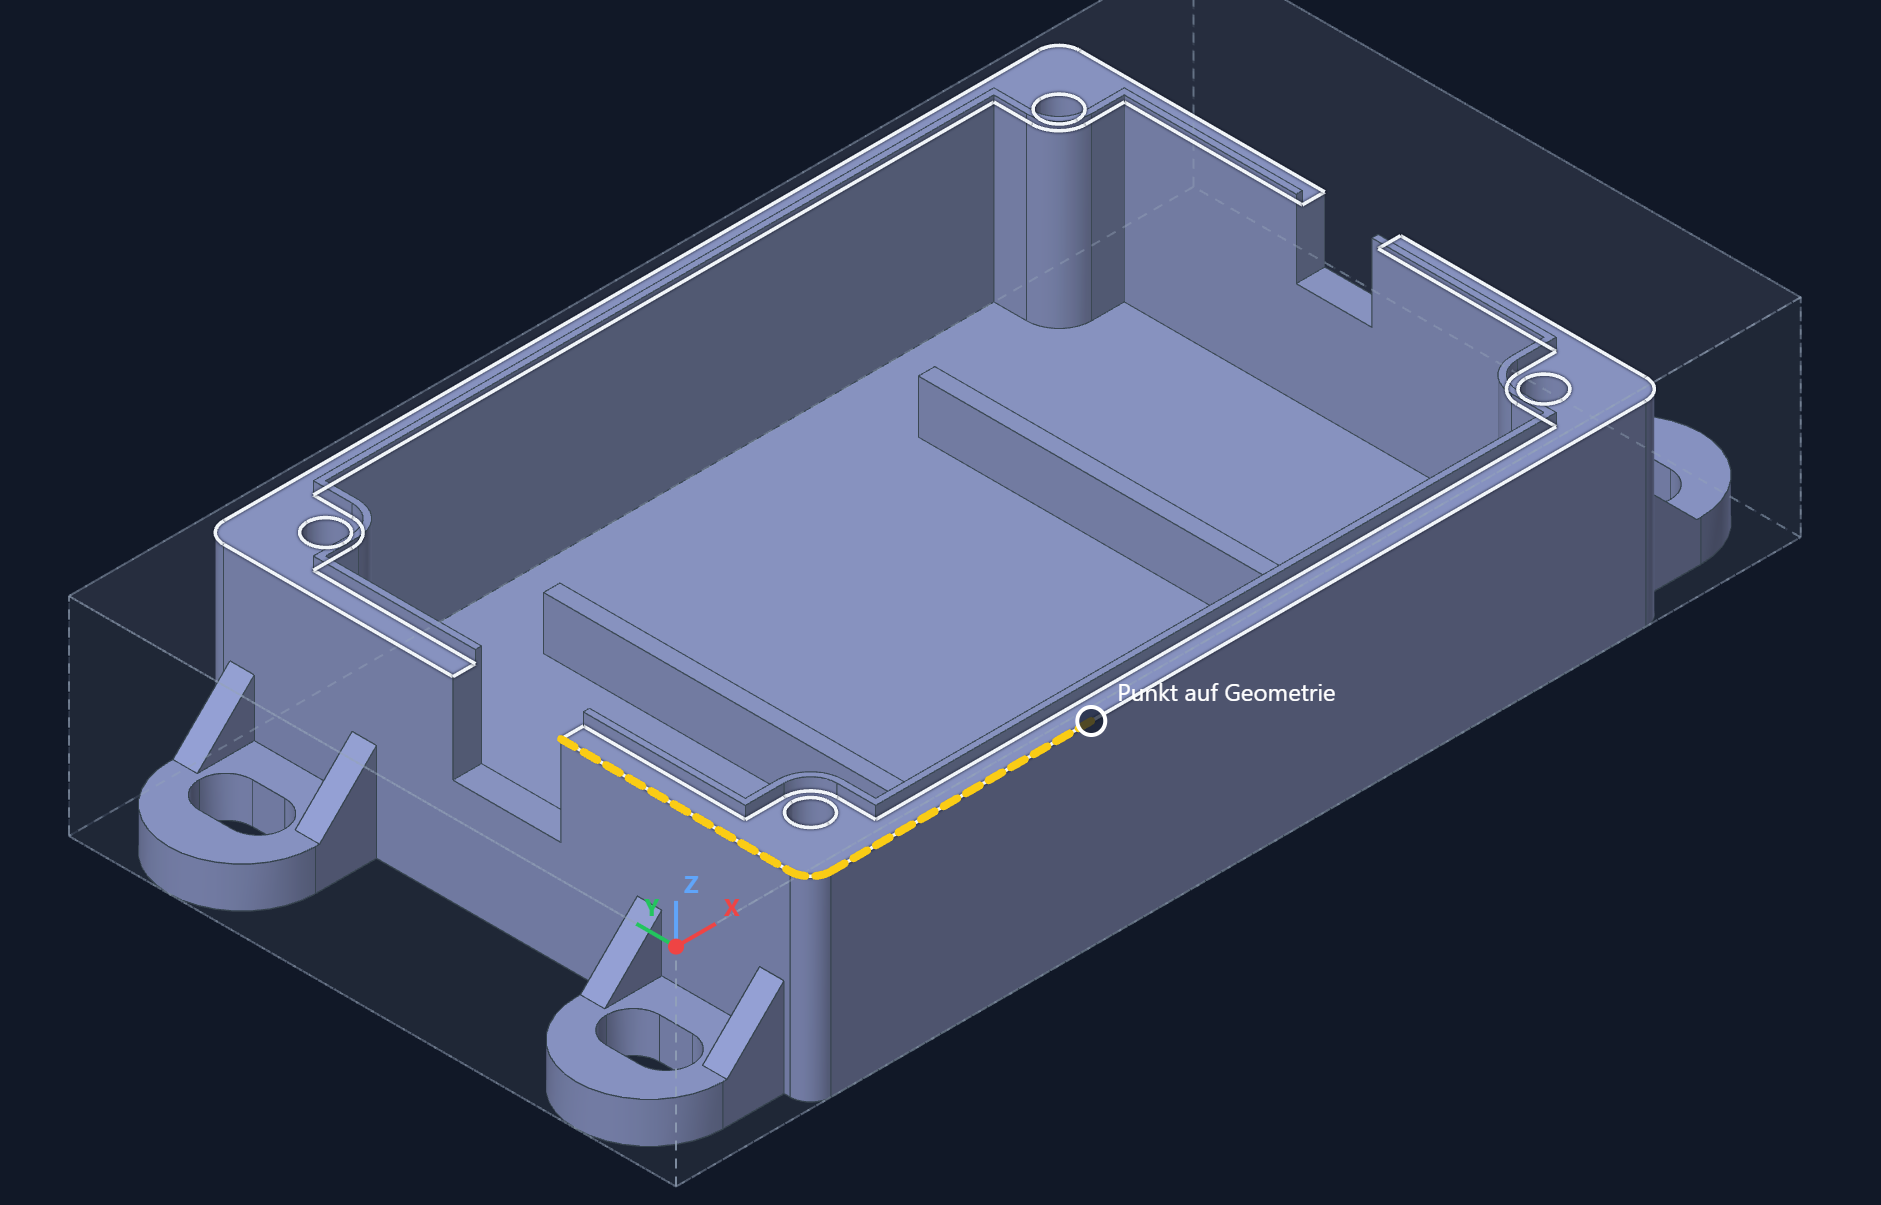
Manual selection is built step by step. The first click only sets the start point. Browser2CAM then shows a dashed yellow preview to the point under the pointer.
- Choose Manual.
- Click the required start point on the geometry.
- Move the pointer to the next destination and inspect the yellow preview.
- Click only when the proposed route is correct.
- Continue destination by destination for further sections.
Force a direct connection
If the drawing has no suitable route, or if you intentionally want to bridge a gap, you can create a direct line to the destination instead of following the contour.
- Hold Ctrl and click the destination.
- Alternatively, confirm with the right mouse button.
- Inspect the direct-line preview before confirming it.
Extend the machining path
Manual contour selection can extend an open machining path beyond the existing geometry. Activate the required endpoint with A or B, then place the new destination outside the contour. The extension snaps to the direction of the geometry at that endpoint.
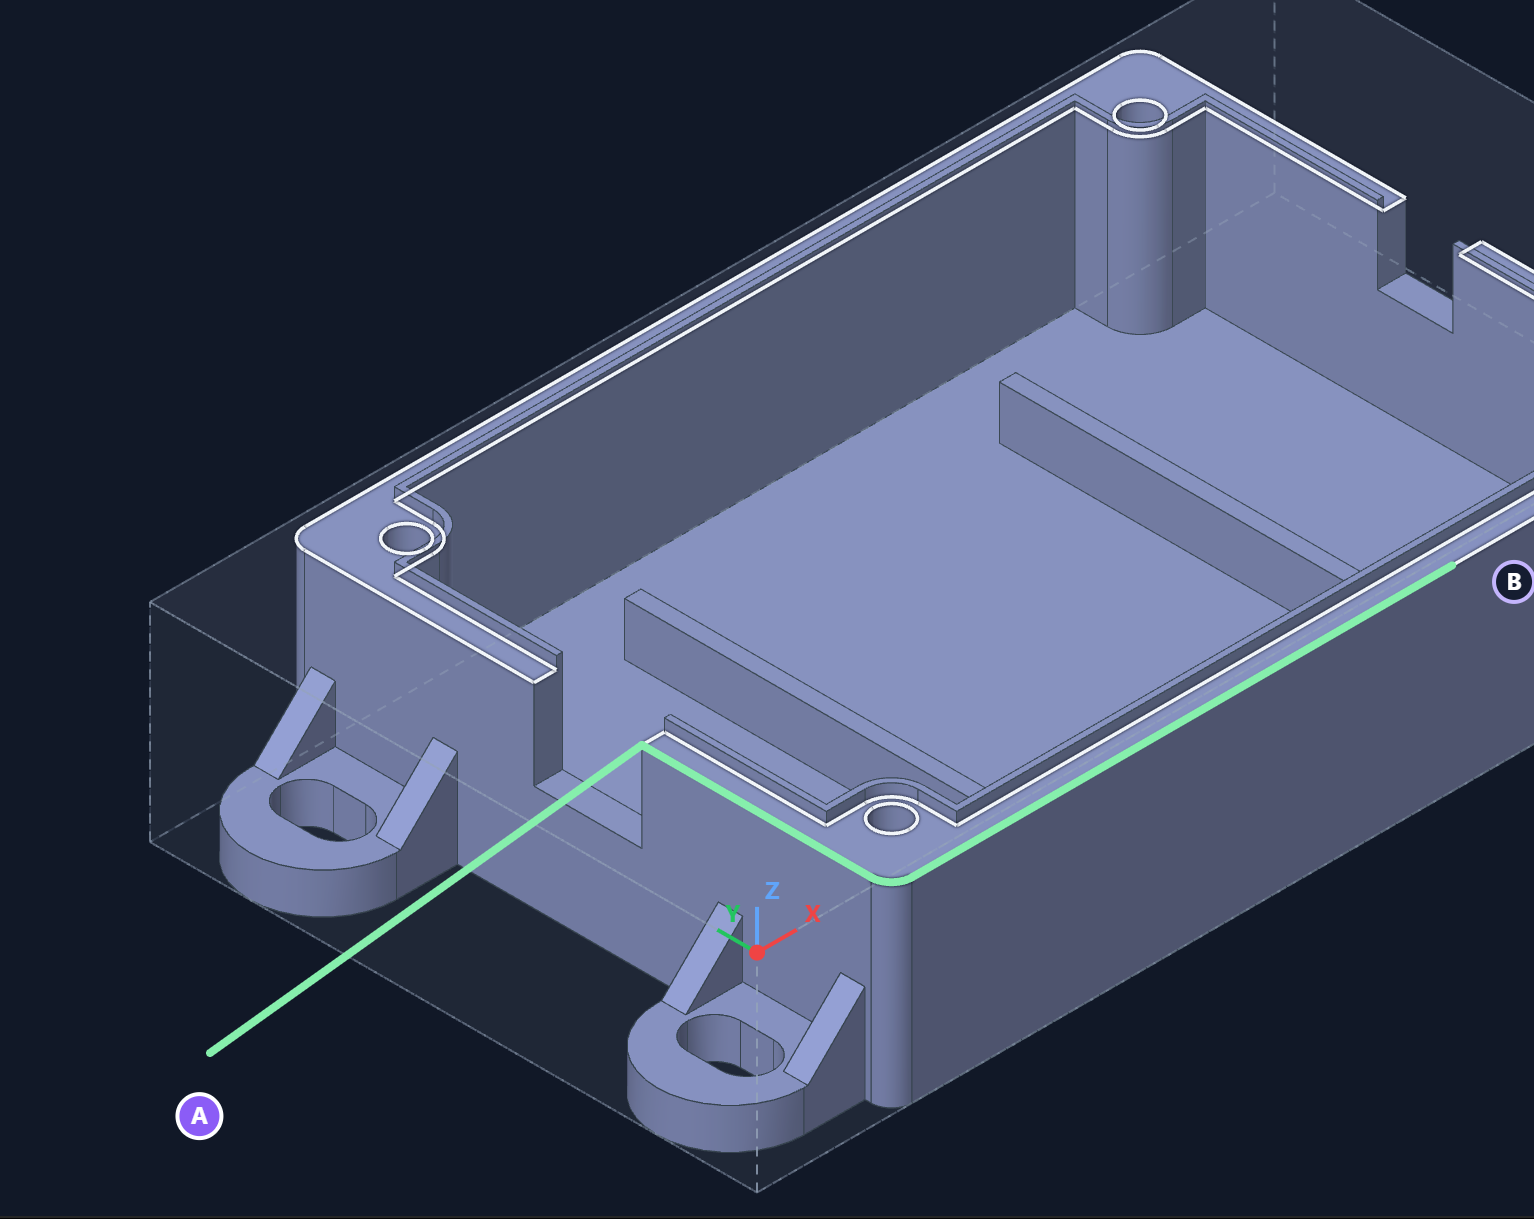
Correct mistakes and continue from the other end
A misplaced destination does not require restarting the whole selection.
- Backspace
- Removes the most recently confirmed destination and its route. The start point remains.
- A / B
- Activates the correspondingly labelled end of an open contour so you can continue from that end.
- X
- Resets the complete current geometry selection.
After pressing Backspace, the previous endpoint becomes active again. Move to a new destination and confirm the corrected route. Backspace also reopens a contour that has just been closed.
Close the contour or accept it as open
To close a contour, lead the final step back to the start point. Leave an open contour at the required endpoint.
- For a closed contour, click the start point as the final destination.
- For an open contour, click + Operation after the final destination.
- After a closed contour, you can set another start point and add another closed contour.
- Use + Operation to accept the finished geometry selection.
- In the operation dialog, verify that the operation type and cutter side suit the selected geometry.
Try the selection yourself
Open Browser2CAM with demo.dxf or your own drawing. Start with Automatic, then switch to Manual to control the start point, route and end.
Open Browser2CAM ↗